

For consistent performance and a safer, more professional product, wick testing is absolutely essential.
Whether you are launching your first collection or refining an existing line, choosing the right wick directly impacts burn quality, fragrance throw, and overall safety. There is no one-size-fits-all wick that works for every combination of wax, fragrance, and vessel. Every single candle formulation must be thoroughly tested.
This guide covers exactly what you need to know to master the wick testing process.
Why Wick Testing Matters
The wick is the engine of your candle, controlling exactly how it burns. If the wick sizing is off, the entire product suffers.
Poor wick selection can lead to:
- Tunneling: Leaving a hard ring of wasted wax along the sides of the container.
- Excessive Mushrooming: Carbon buildup on the tip of the wick that can cause a dancing, unstable flame.
- Sooting: Black smoke and residue that stains the vessel and surroundings.
- Weak Scent Throw: An improper burn that fails to throw the fragrance effectively into a room.
- Overheating Containers: A flame that burns too hot, making the glass or tin dangerous to touch.
- Failed Safety Standards: Creating a potential fire hazard that won’t meet industry safety protocols.

For growing brands, inconsistent burn performance can quickly erode customer trust. For new makers, it can result in wasted inventory and costly reformulation.
Professional candle makers test every new combination of:
- Wax type
- Fragrance oil
- Dye or colorants
- Vessel diameter
Even a minor adjustment to your formula can completely change how a wick performs.
What Affects Wick Performance?
Understanding the variables in candle making makes your testing process much more efficient.
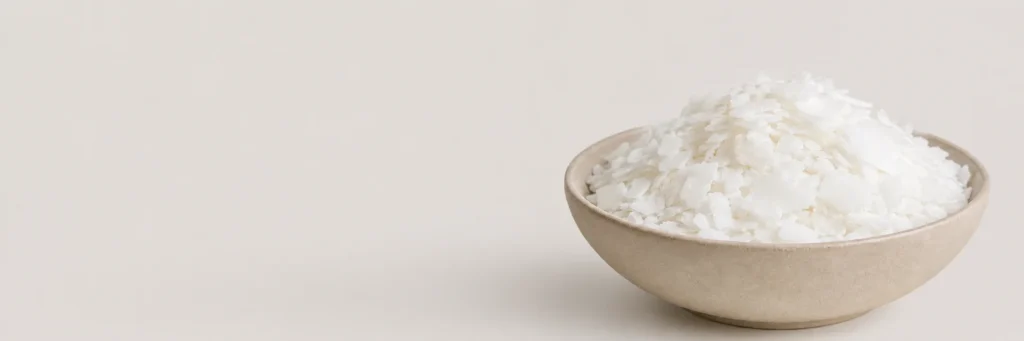
Wax Type
Different waxes burn at different rates and have distinct viscosities when melted.
- Soy wax typically requires a thicker or hotter wick than paraffin.
- Coconut, apricot, and other custom vegetable blends behave differently.
- Chemical or natural additives will alter the melt pool behavior.
Fragrance Load & Composition
It’s not just about the percentage—the actual composition of the fragrance oil plays a massive role.
- Heavy Vanillin and Resins: Fragrance oils with high vanillin content or dense, resinous bases can easily clog a wick, restricting the flow of wax.
- Higher Fragrance Loads: Increasing your fragrance percentage (e.g., moving from a 6% load to a 10% load) typically requires “wicking up” to a larger size to handle the extra oil.
- Essential Oils: Certain essential oils burn significantly hotter than synthetic fragrance oils, which can drastically alter your burn profile.

Vessel Diameter
Wicks should always be selected based on the internal diameter of the container, never by its volume.
For example, a tall 10 oz jar and a short 6.5 oz jar will require the exact same wick size if their inside diameters are identical. Focus on the width of the opening to determine your starting wick size.

Dye Usage
Heavily dyed candles can often require a larger or hotter wick. Powder, liquid, and block colorants add extra particulate matter to the melted wax pool, which can sometimes slow down the capillary action and restrict how the wax draws up the wick.
Cure Time
Testing your candles too early will lead to highly inaccurate results. Waxes need time to completely recrystallize and stabilize to their final hardness.
- Soy Wax: Ideally requires a 10 to 14-day cure time.
- Wax Blends: Vary by brand. Always check the manufacturer’s specific guidelines.
Burning a candle before it has fully cured can give misleading performance data, often making a wick seem like it is performing well when it will actually fail or underperform later.
How to Conduct a Proper Burn Test
This is where many candle makers make a critical mistake—only testing a single wick size. Finding the perfect match for your formula usually takes a few tries.
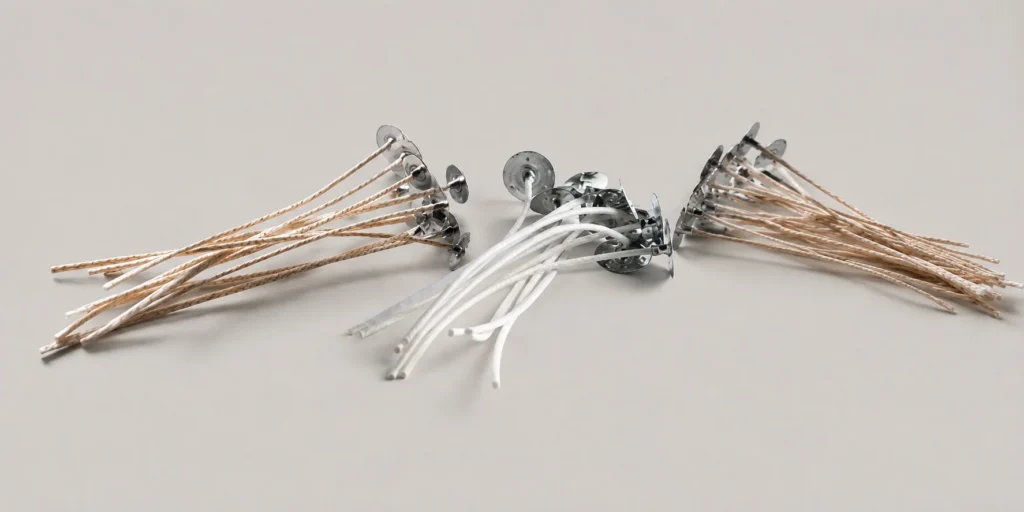
Step 1: Select 3 Wick Sizes
To save time and get accurate data, you should always test three sizes simultaneously:
- Your estimated size: The base size recommended by the manufacturer chart for your vessel’s diameter.
- One size down: A slightly smaller wick (wicking down) to see if the base size is too hot.
- One size up: A slightly larger wick (wicking up) to see if the base size is underpowered.
Testing this three-size bracket side by side gives you a clear, definitive performance comparison, helping you find the sweet spot much faster.
Check out our blog post on our Candle Wick Sizing Chart to find out more.
Step 2: Keep All Other Variables Identical
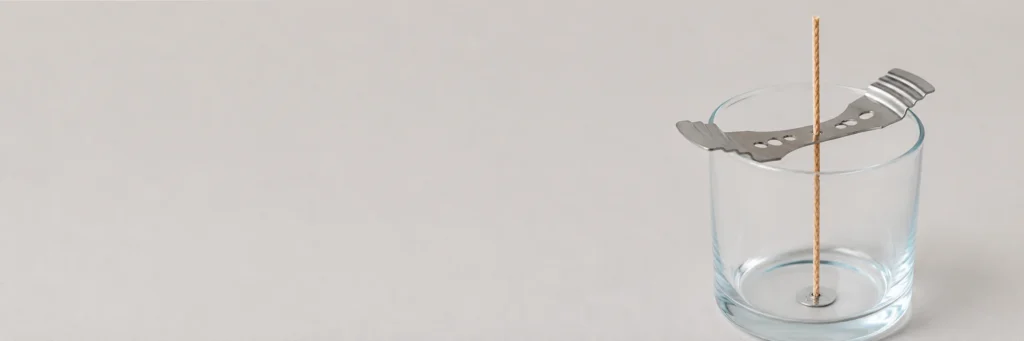
To ensure your results are accurate, every other element of your candle must remain exactly the same. Pour your test candles using:
- The same batch of wax
- The identical fragrance oil percentage (fragrance load)
- The exact same vessel
- The same pouring temperature
The only variable that should change between these test candles is the wick itself. Controlling these factors is the only way to isolate and accurately measure wick performance.
Step 3: Allow the Candles to Cure
Before you light a single match, make sure to clearly label each test candle with the following details:
- Vessel size / diameter
- Wick series and size
- Pour date
- Fragrance name and exact fragrance load (percentage)
Do not rush this step. Allowing your candles to fully cure ensures the wax crystal structure stabilizes and binds properly with the fragrance oil, giving you accurate burn data.
Step 4: Conduct a Controlled Burn Test
To ensure safety and performance, follow a structured testing schedule that mimics how a customer would use the candle:
- Burn for 4 hours per test cycle.
- Allow for a complete cool-down between burns.
- Repeat this cycle multiple times.
- Continue testing all the way down to the bottom of the container to track the candle’s entire life cycle.
What to Record After Every Burn Cycle:
- Melt pool diameter and depth: Is the wax melting all the way to the edges?
- Flame height and stability: Is the flame flickering, dancing, or too tall?
- Mushrooming: Are carbon caps forming on the top of the wick?
- Sooting: Are there any signs of black smoke or dark residue on the glass?
- Container temperature: Is the vessel safe to touch, or is it getting dangerously hot?
- Time to a full melt pool: How many hours did it take for the liquid wax to reach the sides of the jar?
We highly recommend running these multiple burn cycles to gather as much data as possible, as a wick that performs beautifully during the first burn can behave very differently halfway down the jar.

How to Read Your Results
Once your burn cycles are complete, it is time to analyze the data. Use these guidelines to determine if you need to adjust your wick size.
You May Need to Wick Up (Choose a Larger Size) If:
- Incomplete Melt Pool: The liquid wax does not reach the edges of the container within 3 to 4 hours.
- Tunneling: A hard ring of wax begins to form and tunnel down the center of the jar.
- Weak Flame: The flame looks tiny, dampens out, or struggles to stay lit.
- Faint Scent Throw: The candle is burning, but the fragrance throw feels underpowered or barely noticeable.
You May Need to Wick Down (Choose a Smaller Size) If:
- Dancing or Tall Flame: The flame is excessively tall, flickers constantly, or appears unstable.
- Heavy Mushrooming: Large carbon caps quickly form on the tip of the wick.
- Sooting: Black smoke or dark soot residue visible on the inside of the vessel.
- Deep Melt Pool: The liquid wax pool is deeper than 1/4 inch to 1/2 inch.
- Overheating: The container becomes dangerously hot to the touch.
The Goal: The Perfect Burn
The ideal wick combination will give you:
- A full melt pool (wax reaching edge-to-edge) by the 3 to 4-hour mark.
- A stable, moderate flame that doesn’t dance or smoke.
- Minimal carbon buildup on the wick between trims.
- No visible soot on the container walls.
- A safe container temperature throughout the entire life of the candle.
Common Wick Testing Mistakes
Even experienced makers fall into these traps. Avoid these errors to keep your production seamless:
- Testing a single size: Missing out on the comparison data of a larger and smaller size.
- Shifting variables: Changing your fragrance percentage or wax mid-test.
- Over-burning: Leaving a test candle lit for longer than 4 hours at a time.
- Rushing cycles: Lighting the candle again before it has completely cooled.
- Quitting early: Not burning the candle all the way to the bottom of the jar.
- Skipping the paperwork: Failing to document each burn cycle.
Robust record-keeping builds a reliable, repeatable production system for your brand.
Why Every New Fragrance Demands a New Test
A new fragrance oil can completely alter a candle’s burn behavior, even if your wax and vessel stay exactly the same. Different oils have unique raw materials, flashpoints, and densities. Skipping this step increases your fire risk, hurts your brand reputation, and leads to costly product returns.
FAQ: Wick Testing Quick Answers
1. How long should I let my candles cure before testing? Cure times vary by wax type to allow the crystal structure to fully lock in the fragrance:
- Paraffin: 24 to 48 hours
- Parasoy (Blends): 5 to 7 days
- Coconut Blends: 7 to 10 days
- Pure Soy Wax: 10 to 14 days
2. Do I need to re-test if I adjust my fragrance percentage?
Yes. Even a 1% to 2% shift impacts performance. Increasing your fragrance load can clog the wick and require wicking up. Lowering it can speed up the burn rate, potentially overheating the glass and requiring you to wick down.
3. Why should I buy a wick sample pack instead of a full spool?
Sample packs are designed for bracket testing (testing your target size, one size up, and one size down). This prevents you from wasting money on bulk spools of the wrong size and lets you make data-backed purchasing decisions.
4. What is the ideal flame height during testing?
Look for a stable, teardrop-shaped flame—typically around 1/2 inch to 3/4 inch tall. A flickering, dancing flame that throws smoke means you likely need to wick down. A tiny, drowning flame means you need to wick up.
5. How hot is too hot for a candle jar?
If the vessel is too hot to comfortably hold or pick up, your wick is too large. Many professional US makers use an infrared thermometer during testing to monitor exact temperatures, ensuring the product meets safety standards and liability insurance requirements.
6. Can I speed up the curing process?
No. Using lids, warm rooms, or fans will not accelerate how the fragrance oil binds to the wax on a molecular level. Rushing this step just leads to false test results and wasted materials. Time is an ingredient you cannot skip.

