
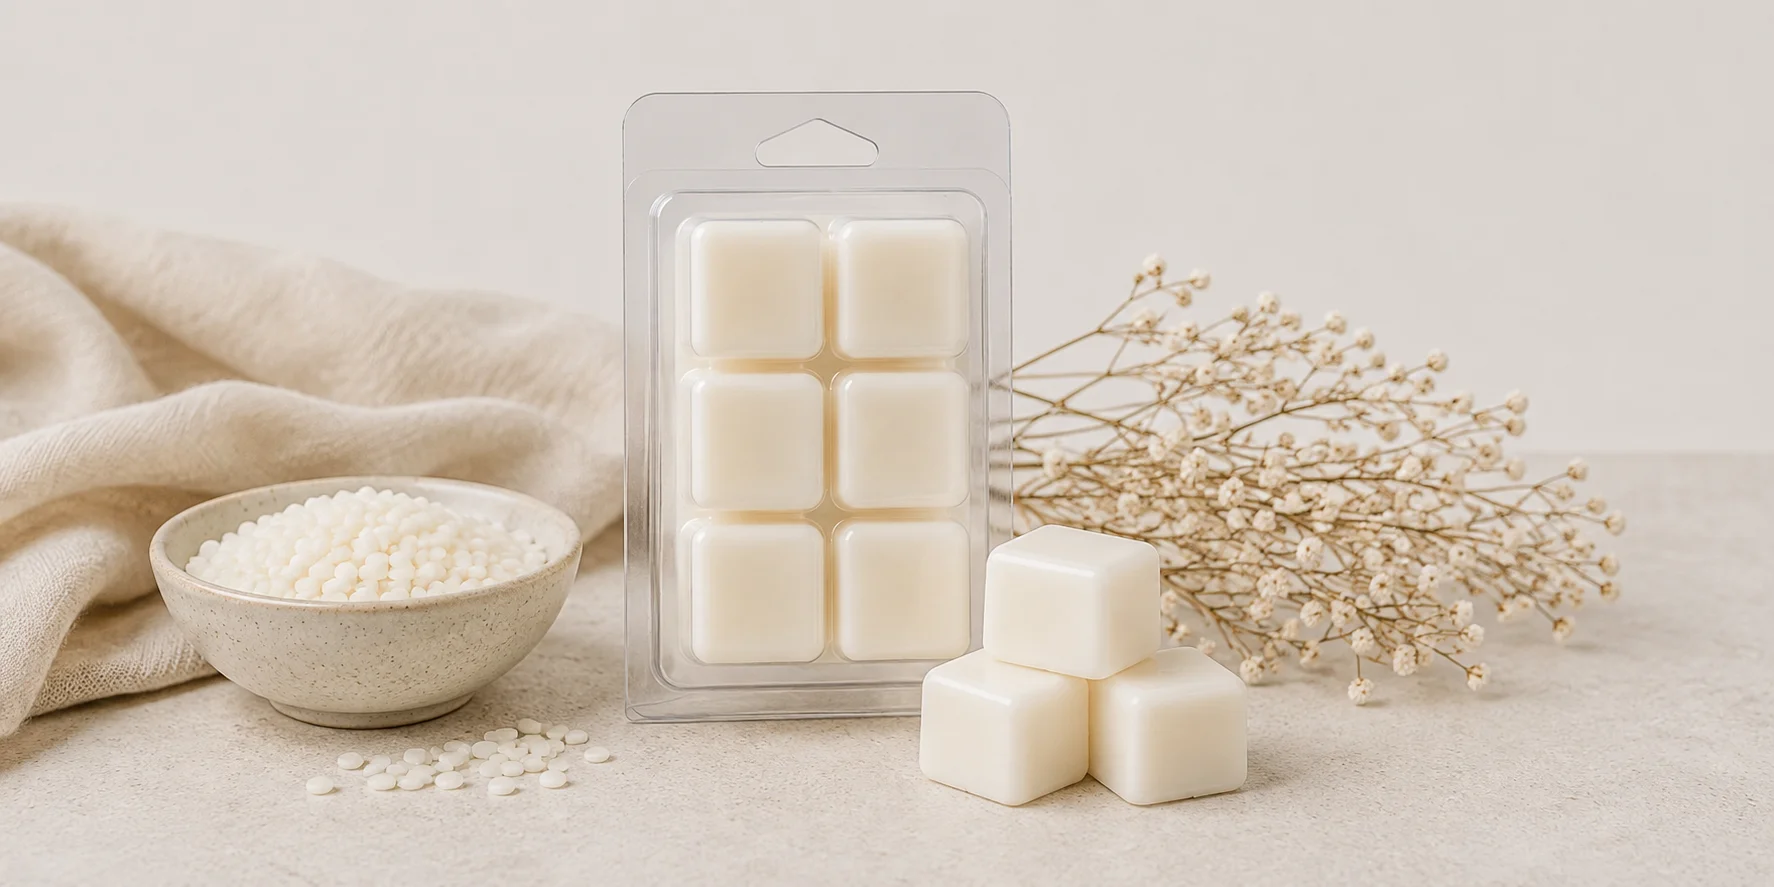
Wax melts are an incredibly popular, flame-free way to fill your home with incredible fragrance. Instead of using a wick, they are placed in a wax warmer where they slowly melt and release their scent. Making your own gives you total control over the ingredients, colors, and shapes, plus, it’s a fun, highly cost-effective craft!
Our step-by-step guide is a must-read for beginners.
Why Make Your Own Wax Melts?
-
Total Ingredient Control: You choose the exact wax type, fragrance quality, and colors.
-
Custom Scents and Strength: Blend your own unique fragrances and dial in the strength exactly how you like it.
-
Cost-Effective: It is much cheaper than buying retail, especially when making small batches.
-
Perfect for Gifting or Business: Handcrafted melts make amazing gifts and are a fantastic product line for a small business.
-
Clean Ingredients: You can completely avoid low-quality materials or harmful additives.
Key Materials & Tools
-
Wax Melt or Pillar Wax: A harder wax formulation designed for easy release from molds.
-
Fragrance Oils: High-quality, candle-safe scents.
-
Candle Dyes: Liquid or dye chips to add vibrant color.
-
Clamshells or Molds: Plastic clamshell packaging or silicone molds.
-
Additional Items: Pouring pitcher, spatula, digital scale, and an accurate thermometer.
Step-by-Step Instructions
1. Preparation
Before you start, it is important to prep your workspace because working with molten wax can get a little messy! Set up on a clean, flat surface and cover it with parchment paper or newspaper to protect anything you don’t want wax on. Have your clamshells laid out and ready to go, as the process moves faster than you might think.
Next, use your digital scale to weigh out your wax. For this guide, we are using a standard starter size of 3.5 ounces of wax.
2. Melting the Wax
Pour your measured wax into your melting pot or pouring pitcher. Heat the wax to 160°F while stirring gently. Do not let the wax exceed 175°F.
Pro-Tip (The Double Boiler Method): If you don’t have a dedicated wax melting pot, you can easily create a double boiler by placing a glass bowl or a metal pouring pitcher inside a saucepan filled halfway with water. Always use your thermometer to keep a close eye on the temperature. Note: Paraffin wax has a higher melting point than soy wax and will take a bit longer to melt—just be patient!
3. Adding Color
Once your wax reaches 160°F, it’s time to add your candle dye. Stir gently until the dye has completely dissolved and the color is evenly distributed. We suggest a dye load of roughly 0.2%. For context, a small 0.35 oz bag of dye chips will color about 11 pounds of paraffin wax. Natural vegetable waxes (like soy) may require a slightly heavier hand to achieve deep colors. If you are using liquid candle dye, add it just a few drops at a time until you reach your desired shade.
4. Adding Fragrance
Once the dye is fully dissolved, take your wax off the heat source. Check the temperature regularly until it cools down to 150°F. At this exact point, pour in your fragrance oil and stir gently but thoroughly for a full two minutes to ensure the fragrance binds perfectly with the wax.
We suggest using a maximum of 10% fragrance load. This means you would use roughly 16 oz (1 lb) of fragrance oil for every 10 pounds of wax. For our 3.5 oz starter batch, you’ll want about 0.35 oz of fragrance oil.
5. The Pour
Once your ingredients are thoroughly mixed and the wax is sitting between 140°F and 150°F, it is time to pour. Slowly and steadily fill your wax melt molds or clamshells.
⚠️ Critical Temperature Warning: If you are using paraffin wax and plastic clamshell molds, make sure you do not pour any hotter than 140°F. Pouring wax that is too hot will warp or melt the plastic packaging, causing a major leak!
6. Cooling and Curing
Your wax melts are now setting! Give them a few hours at room temperature to completely solidify. For the absolute best results, we highly recommend storing your finished melts in a cool, dark place for about 2 weeks to “cure.” Curing allows the fragrance molecules to fully bind with the wax structure, resulting in a much stronger scent throw when burned. However, if you’re too excited to wait, you can totally pop one out and use it a few hours after it sets!
Tips & Best Practices
-
Choose the Right Wax: Always use a wax explicitly rated for “pillar candles or wax melts.” Container waxes (like standard soy container wax) are too soft and will stick stubbornly to your molds.
-
Watch the Heat: Overheating your wax can degrade the quality of your fragrance oil and cause the wax to discolor.
-
Stir, Don’t Whip: Stir consistently but gently when adding fragrance so the scent distributes evenly without creating air bubbles.
-
Start Small: Always try small test batches before scaling up your production or ordering ingredients in bulk.
-
Avoid Fragrance Bleeding: Pushing past a 10% fragrance load can cause “sweating” or “weeping,” where liquid oil puddles on top of the hardened wax.
-
Proper Storage: Keep your finished melts out of direct sunlight and away from heat sources to prevent fading and melting.
FAQ
How long should I cure my wax melts before using them?
For the best scent throw, let them cure for 7 to 14 days in a sealed container or bag in a cool environment. This gives the fragrance time to fully bind to the crystalline structure of the wax.
Why do my wax melts sometimes crack or sink in the middle?
This is usually caused by the wax cooling down too fast, overfilling the molds, or natural wax shrinkage. Try to pour at a slightly lower temperature and ensure your room isn’t too chilly or drafty.
What wax is best for melts—soy, paraffin, or a blend?
Soy wax is incredibly popular for its clean image and eco-friendly appeal, but it can sometimes have a softer scent throw. Paraffin and parasoy blends generally yield a much stronger, punchier fragrance throw. Choose a wax specifically formulated for tarts and molds, and test a few to see what you prefer!
How do I remove the wax from molds if it’s sticking?
If your wax melts are stuck, stick the entire mold into the freezer for 5 to 10 minutes. The cold will cause the wax to contract slightly, allowing them to easily pop right out.

