
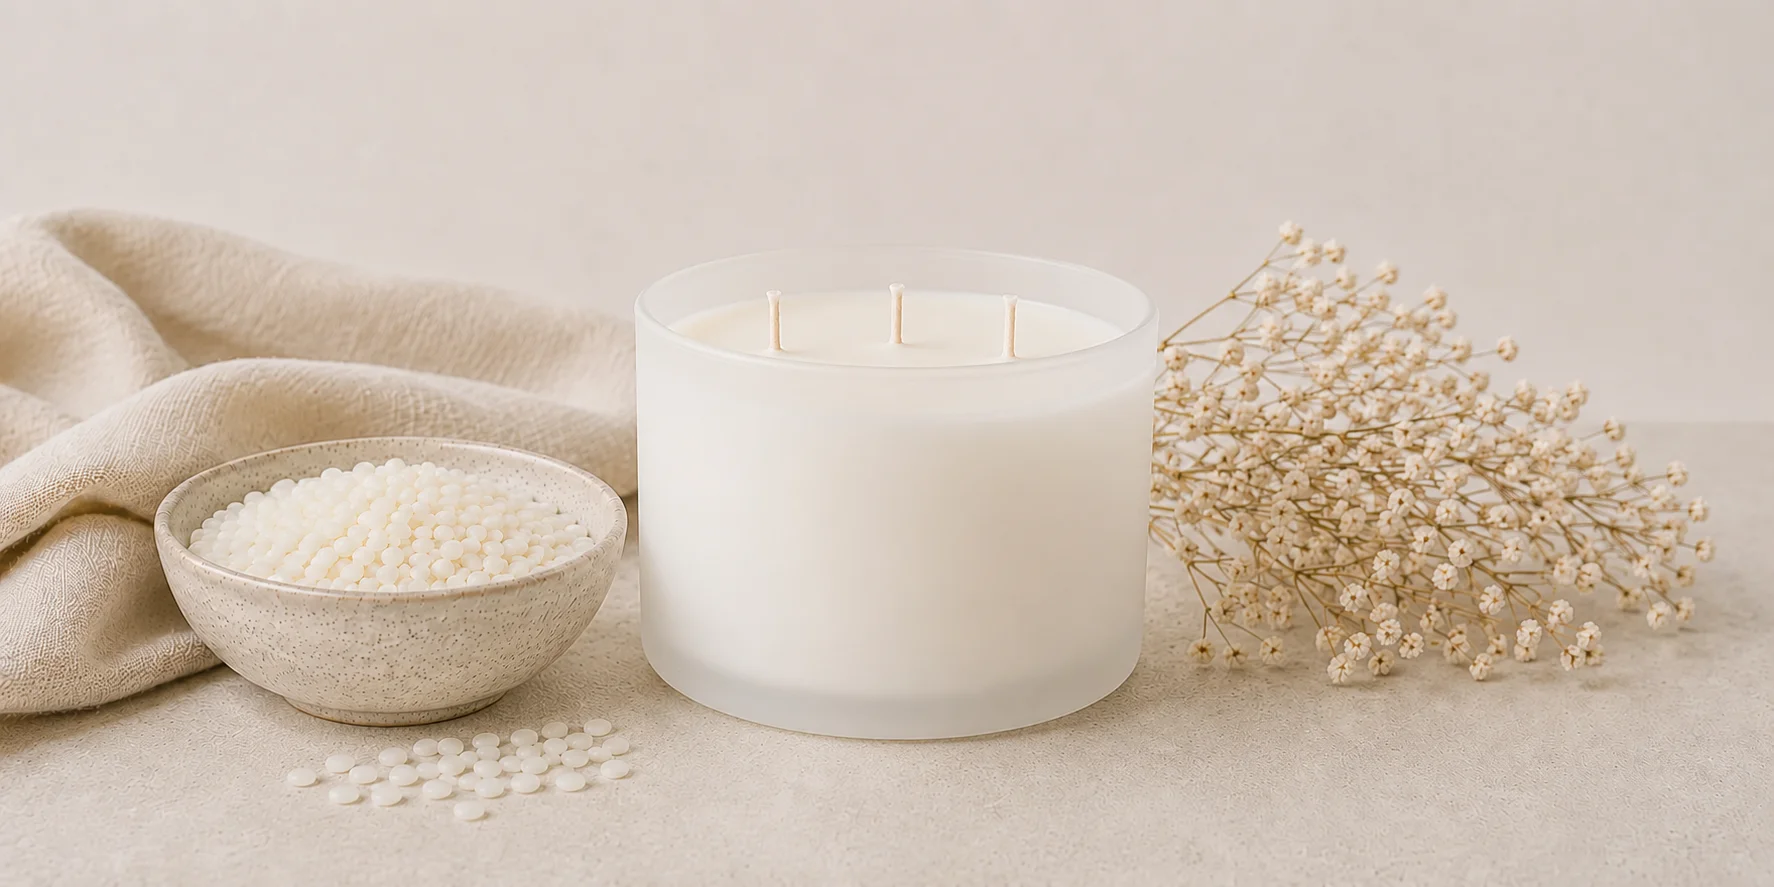
Three wick candles are the ultimate statement piece for any home fragrance line, they offer a modern, upscale aesthetic and deliver an incredible scent throw that easily fills larger rooms. While making a multi-wick candle might seem intimidating at first, the process is incredibly straightforward once you master the layout and pouring temperatures.
In this guide, we will walk you through how to perfectly wick, blend, and pour a clean-burning, beautiful three-wick candle.
Materials & Tools You’ll Need:
-
NatureWax C3 Wax: Or your preferred high-quality soy container blend.
-
Fragrance Oil: A premium, candle-safe scent.
-
18.5 oz Candle Jar: A wide, heavy-bottomed candle glass.
-
3 x Wedo ECO 6 Candle Wicks: Tailored specifically for multi-wicking smaller diameters
-
3 x Wick Stickers: To secure your wicks firmly to the bottom of the glass.
-
3 x Wick Holders: Or popsicle sticks with a center hole to keep wicks straight.
-
Additional Items: Digital scale, thermometer, pouring pitcher, stirrer, and a double boiler setup or wax melter.
Step-by-Step Instructions
1. Prep Your Workspace
Make sure you have a clean, flat surface to work on. Cover your area with parchment paper or newspaper to catch any accidental drips, as working with molten wax can get messy. Ensure your glass vessels are completely clean and dry before beginning.
2. Weight Out Your Wax
Using your digital scale, weigh out your wax. For our standard 18.5 oz three-wick jar, you will need approximately 17.5 oz of soy container wax per candle.
3. Melt the Wax
Add your measured wax to your double boiler setup or melting pot. Heat the wax gently to 175°F while stirring occasionally. Be careful not to exceed this temperature, as overheating can discolor soy wax and impact its performance.
4. Prep and Place Your Wicks
While your wax is melting, prepare your vessels. Apply a wick sticker to the metal tab of each of your three wicks. Using a three-wick spacing guide or visual template, place each wick firmly into the bottom of the jar in an equilateral triangle layout. This ensures an even melt pool and prevents the glass from overheating on any one side.
5. Add Your Candle Dye (Optional)
Remove your wax from the heat source and carefully pour it into your pouring pitcher. Monitor the temperature closely. Once the wax cools down to 158°F, you can add your chosen candle dye chips or liquid dye. Stir gently until the color is completely dissolved and evenly dispersed throughout the wax.
6. Incorporate the Fragrance Oil
Once your color is fully integrated, it is time to add your fragrance oil. We recommend a standard 10% fragrance load for an exceptional scent throw (which breaks down to roughly 1.75 oz of fragrance oil for every 17.5 oz of wax). Pour the fragrance oil into the molten wax slowly, stirring continuously for a full two minutes to ensure the oil and wax molecules bond perfectly.
7. The Pour
Check your temperature one last time. When the wax is between 150°F and 160°F slowly and smoothly pour the liquid into your prepared candle glass. Leave about 1/2 inch of space from the top rim of the jar.
8. Center the Wicks
Secure your wicks tight and upright by threading them through your wick centering tools or popsicle holders, resting them flat across the rim of the glass.
A Note on Shrinkage: As soy wax cools, it naturally shrinks slightly. This can sometimes cause small sinkholes or unevenness around the wicks. Don’t panic—this is a normal characteristic of natural soy wax! You can easily fix this by pouring a tiny “top-up” layer of leftover wax over the surface after 30 minutes, or by smoothing out the tops with a heat gun once the candle has completely set.
9. Cure and Trim
Let your candle sit undisturbed overnight in a draft-free area at room temperature. Once fully set, remove the wick holders and trim the wicks down to approximately 1/4 inch. For the absolute best results and an optimal scent throw, allow your soy candle to cure for 1 to 2 weeks before lighting it for the first time.
Please note: This candle-making guide is a general starter resource for beginners. Variations in wax types, fragrance oils, room temperatures, and dyes can all affect your final results. Testing small batches is the true secret to mastering the craft!

