
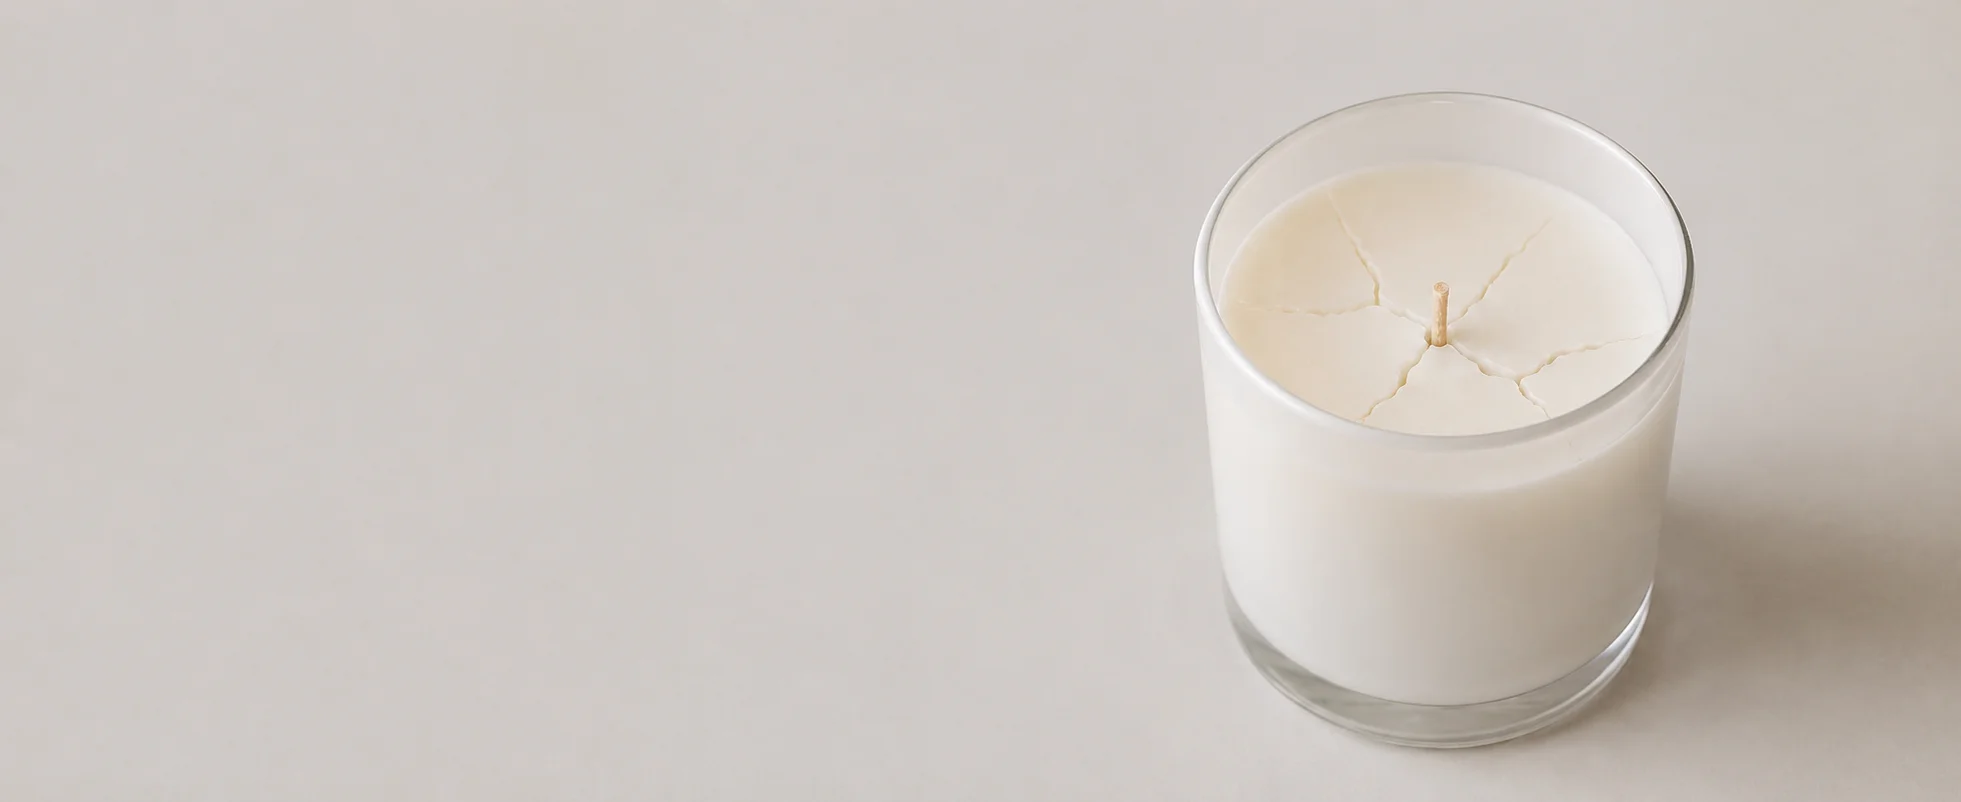
If you’ve ever poured a beautiful candle only to watch cracks form as it cools – you’re not alone! Wax cracking is one of the most common hiccups candle makers face. The good news? It’s also one of the easiest to fix once you understand why it’s happening.
What Causes Wax Cracking?
Cracks usually appear during the cooling or setting stage, and they typically happen for a few key reasons:
- Temperature Shock: If the wax cools down too quickly, it shrinks unevenly. This leads to cracks on the surface or along the sides of the jar. This is often due to pouring your candles in a chilly room or placing them near a draft.
- Pouring Too Hot or Too Cold: Getting your temperatures wrong on either end can cause issues. Overheated wax shrinks dramatically as it sets, while wax that’s too cool can start solidifying before it’s even out of the pitcher.
- Chilly Containers: If your jars or tins are too cold, they can shock the hot wax as it’s poured, creating surface cracks or sinkholes.
- Wax Type: Some natural waxes (like 100% soy) are just naturally more prone to cracking due to how their crystalline structure contracts as it cools.
How to Prevent Wax Cracking
1. Control Your Room Temperature
Work in a warm, stable environment, ideally between 65°F and 75°F. Keep your curing candles away from AC vents, fans, or open windows that speed up the cooling process.
2. Pre-Warm Your Jars
Warm up your glassware or tins with a heat gun, or pop them in a warm oven (around 120°F) for a few minutes before pouring. This helps the wax and the container cool down at the same rate.
3. Pour at the Right Temperature
Always follow your specific wax manufacturer’s guidelines, but as a general rule of thumb for pouring:
- Soy Wax: 130°F – 150°F
- Paraffin Wax: 160°F – 175°F
- Coconut Blends: 140°F – 160°F
4. Let Them Cool Slowly
Let your candles cool naturally at room temperature. Elevating them on a wire cooling rack can also help prevent the counter or table from pulling heat out of the bottom of the jar too fast. Never put them in the fridge to speed things up!
5. Stir Gently
When mixing in your fragrance oils, stir gently and consistently. Avoid whipping air into the wax, which creates micro-bubbles and weak spots that easily crack later.
How to Fix Cracks in Finished Candles
If you already have a batch with cracks, don’t panic! You can easily save them with one of these quick fixes:
- The Heat Gun Method: Pass a heat gun on a low setting over the top of the candle to gently melt the top layer of wax, allowing it to fill in the cracks and smooth out.
- The Top-Pour Method: Save a little bit of leftover wax from your batch. Reheat it and pour a thin layer (about an eighth of an inch) over the top to fill in the cracks and create a perfectly level surface.
Practice Makes Perfect
Wax cracking might look like a disaster, but it’s usually just a small tweak away from perfection. Keep a candle-making log to track your pour temperatures, room conditions, and cooling times—this will help you nail down the perfect process for your specific workspace.
Every maker goes through a trial-and-error phase when starting out. Keep learning, keep adjusting, and most importantly, have fun with the process!

