
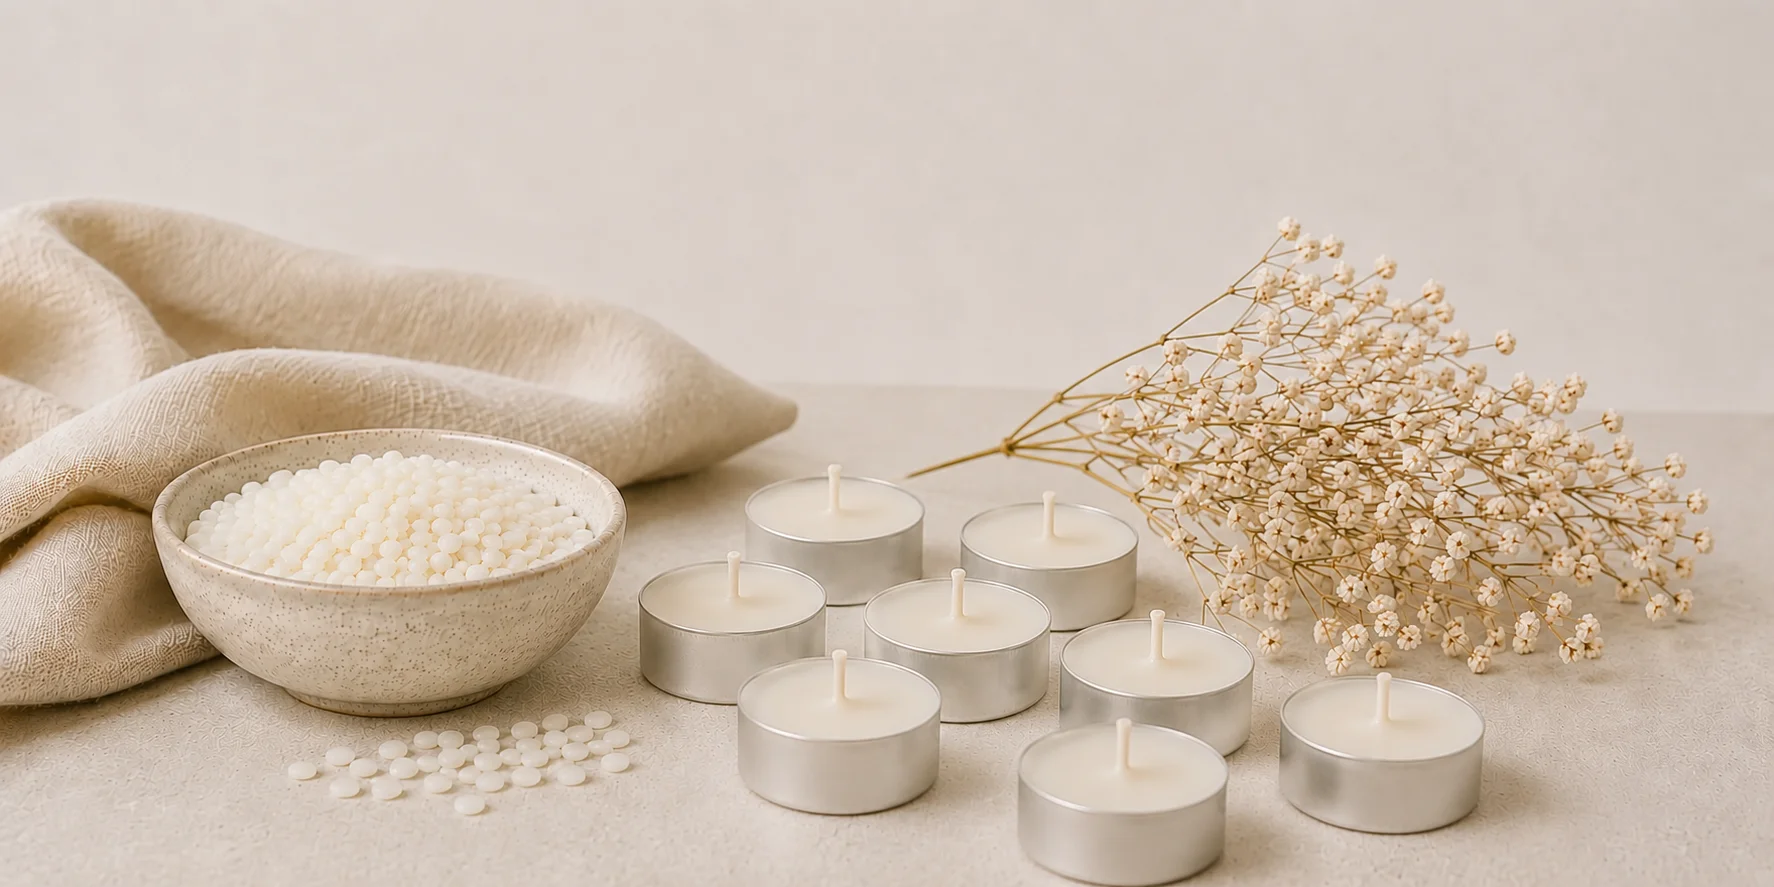
The perfect addition to any candle and wax melt business, tealights are super simple to make, highly profitable, and easy to stock! Read our step-by-step guide below to learn how to pour your very own customized, vibrantly colored, and highly scented tealights.
In this guide, we will show you how to make purple, lavender-scented tealights, but you can easily customize your creations using our wide range of premium fragrance oils and candle dyes.
Materials & Tools You’ll Need:
-
Tealight Wax: A high-quality container wax blend.
-
Tealight Cups: Standard size (approx. 1.5 inches x 0.75 inches).
-
Tealight Wicks: Pre-tabbed wicks tailored for small-diameter cups.
-
Wick Stickers: To secure the wick to the bottom of the cup.
-
Wick Bar: To keep the wick perfectly straight while setting.
-
Fragrance Oil: Choose your favorite candle-safe scent.
-
Candle Dye: Choose your favorite color.
-
Additional Items: Digital scale, thermometer, pouring pitcher, and a double boiler setup (saucepan and pouring pitcher) or wax melter.
Step-by-Step Instructions
1. Measure Your Wax
Using your digital scale, measure out approximately 0.7 ounces of container wax per tealight cup you plan to fill. We love using a premium container wax for tealights because it delivers an incredible scent throw, holds vibrant colors beautifully, and sets up with a flawlessly smooth top.
2. Melt the Wax
Transfer your measured wax into your melting pot or pouring pitcher. If you are using a double boiler setup, place your pitcher inside a saucepan filled halfway with water. Melt the wax over medium-low heat, stirring occasionally. Once the wax is completely melted and liquid, safely remove it from the heat source.
3. Add the Color
Add your chosen liquid dye or dye chips to the hot wax, a little at a time, stirring gently. Make sure to stir thoroughly for at least a full minute so the color completely dissolves and blends evenly.
4. Add the Fragrance
Let your wax cool down to 150°F before adding your fragrance oil. We recommend a standard 10% fragrance load for a powerful scent throw. Pour in your fragrance oil and stir gently but continuously for a full two minutes to ensure the fragrance oil bonds perfectly with the molten wax.
5. Prep Your Tealight Cups
While your wax is cooling to its final pour temperature, prepare your vessels. Peel a wick sticker, attach it to the metal tab of your tealight wick, and press it firmly into the exact center of each clear polycarbonate tealight cup.
6. The Pour
Slowly and carefully pour the scented wax out of your pitcher and into each prepared tealight cup. Leave a tiny bit of space at the very top of the rim to prevent any accidental spilling when moving them.
7. Center and Cure
Place your wick centering tool across the top of each cup to keep the wicks perfectly straight. Let your tealights sit undisturbed in a draft-free space at room temperature. For the absolute best results, let them cure for at least 24 to 48 hours before lighting them!
That’s all it takes! You now have gorgeous, clean-burning, custom tealights ready to pack into your product line or give away as beautiful handmade gifts.
FAQs
Do tealights need to cure for 2 weeks like larger candles?
Because tealights hold a very small volume of wax, they don’t require a lengthy curing process to perform well. If you are using paraffin wax, you can light them after 24 to 48 hours. If you are using 100% soy wax, letting them cure for 3 to 5 days will give you a noticeably stronger scent throw.
How long do homemade tealights typically burn?
A standard tealight cup (roughly 1.5 inches wide by 0.75 inches deep) holding about 0.7 ounces of wax will typically burn for 4 to 6 hours. The exact burn time depends slightly on your wax type, fragrance load, and the specific wick series you choose.

